One of the benefits of our bespoke approach to creating your artwork is that you get to choose the size and shape that works best for your space.
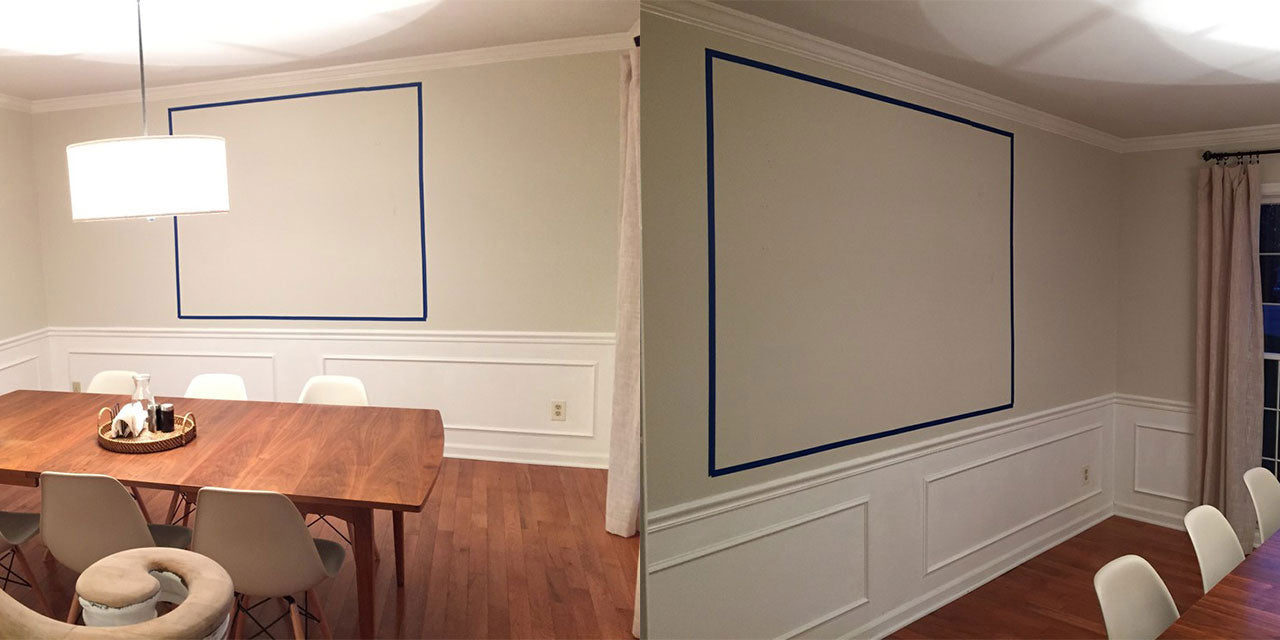
Given the choice, you might be left wondering which size and shape will actually suit best. Augmented reality (AR) Apps are in increasingly popular hi-tech solution, but this tried and tested lo-tech solution is quick and easy to implement.
As a rule artworks look best hung with their centre at eye level - or about 150-160cm from the floor -or with their top edge aligned with the top of door frames where these exist on the same wall.
Square and rectangular pieces suit a variety of spaces. Our larger sizes are ideal for open plan spaces, or rooms with really high ceilings where smaller artworks are just dwarfed by the scale.
Our panoramic pieces are a great option for placement above pieces of furniture from beds and sofas to sideboards and console tables. In fact, we designed these to sit perfectly behind double, queen or king size beds, 2, 2.5 and 3 seat sofas.
It's a common mistake to buy artworks that are too small for today's open plan spaces - hopefully these tips will save you from that.
Receive invitations to exhibitions, new collection previews, exclusive stockroom sales and more...
© 2026 Signarture Pty Ltd | ACN 116 872 194 | art@signarture.com | +61 2 8001 6141


